It’s been a fair while since I updated my build diary, so here’s what I did this Summer. I continued framing between the rafters up to the level of the joists on the N.W. & S.E. facing walls. This was trickier than the gables because the framing has to be contoured to the same angle as the rafters.
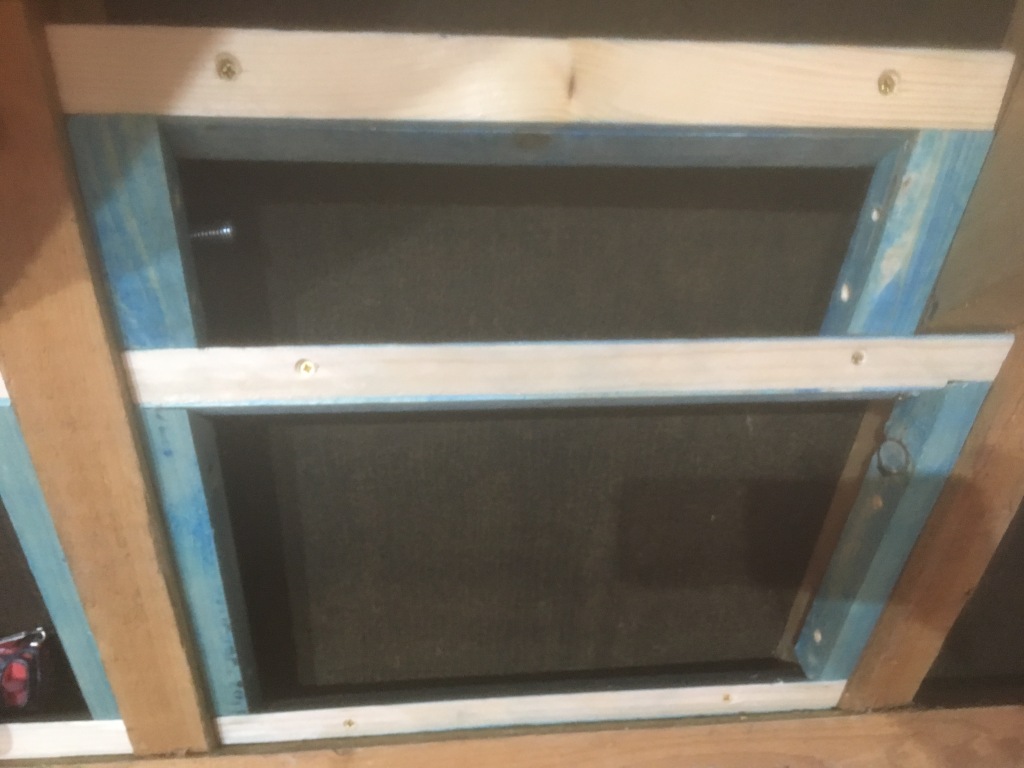
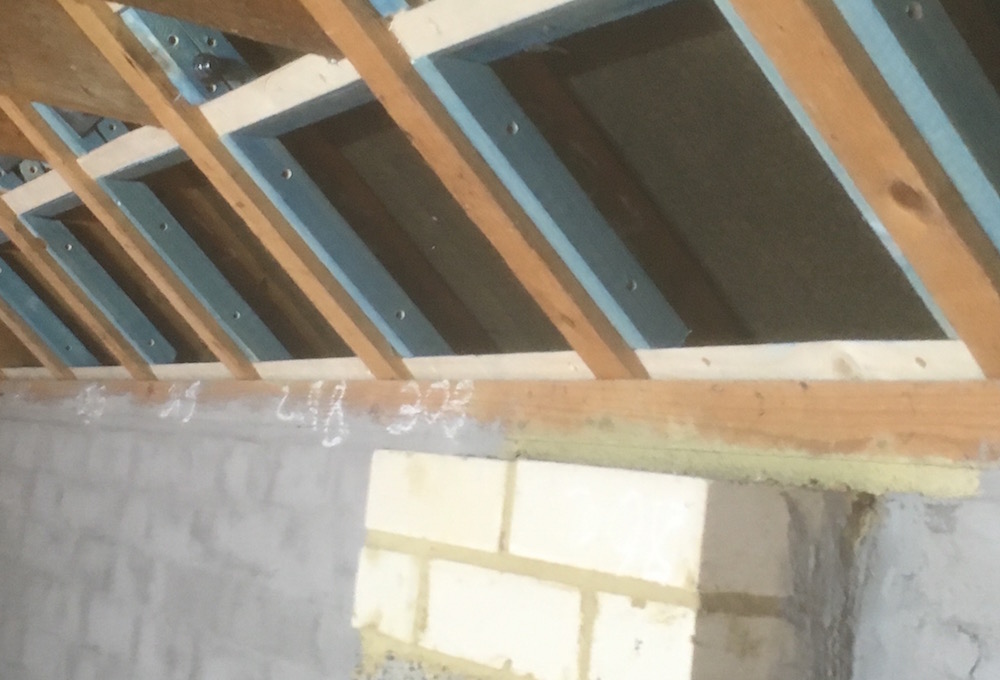
The next step was to begin cladding the framework, first with 12.5mm cement board then a layer of 18mm OSB. I was careful to thoroughly caulk all the seams of the frame and after the sealant cured I fixed the individually cut panels to the frame using star drive screws.


I fixed the OSB panels to the rafters after applying green glue to the side that will be in contact with the cement board. I don’t have pictures of the green glue being applied as I was concentrating too hard on the task to remember to take any. I have a few more panels to fit and I’ll try to capture this when I do.


I added ‘collars’ to the raised joists so they’ll be reinforced and rigid enough to support the outer leaf silencers and supporting framework.


With the help of Kate (spouse, musical collaborator, song-writer and percussionist of the first order) I applied two thick coats of masonry paint to the brick walls and piers in order to seal them.


The next step was to make the outer leaf silencers as they needed to be raised onto the joists before the middle leaf decking is fitted (I have actually installed two short runs of decking already, one at either end of the room, forming a platform on which the silencers can rest while I build the framing to hold them). I made them out of two layers of 18mm MDF incorporating 3 x 180 degree turns.
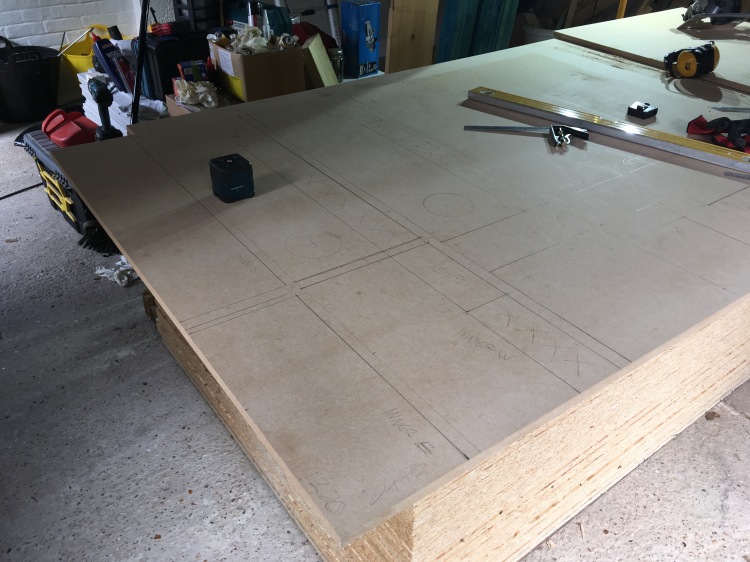
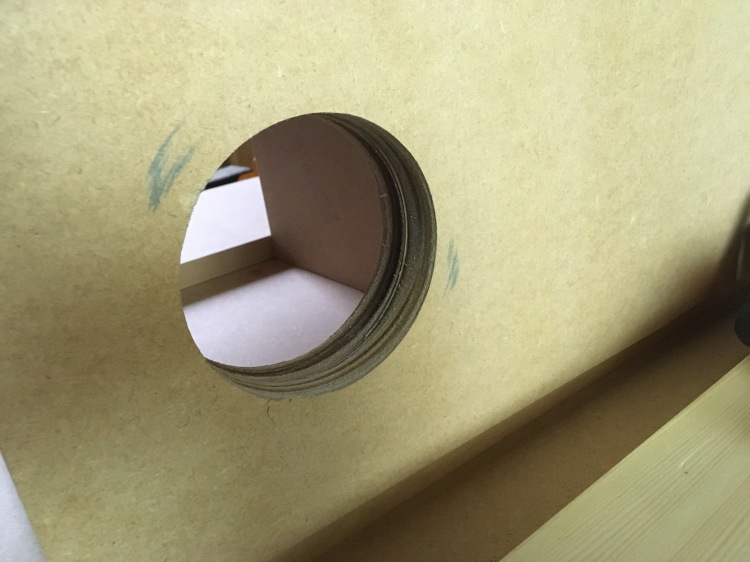


As I cut the pieces, I clamped them together to make sure they were going to fit (I’ve heard this referred to as ‘dry fitting’). I learned very quickly that it’s incredibly easy to over-work and damage MDF so I was careful to pre-drill and countersink the inner layer of the box.
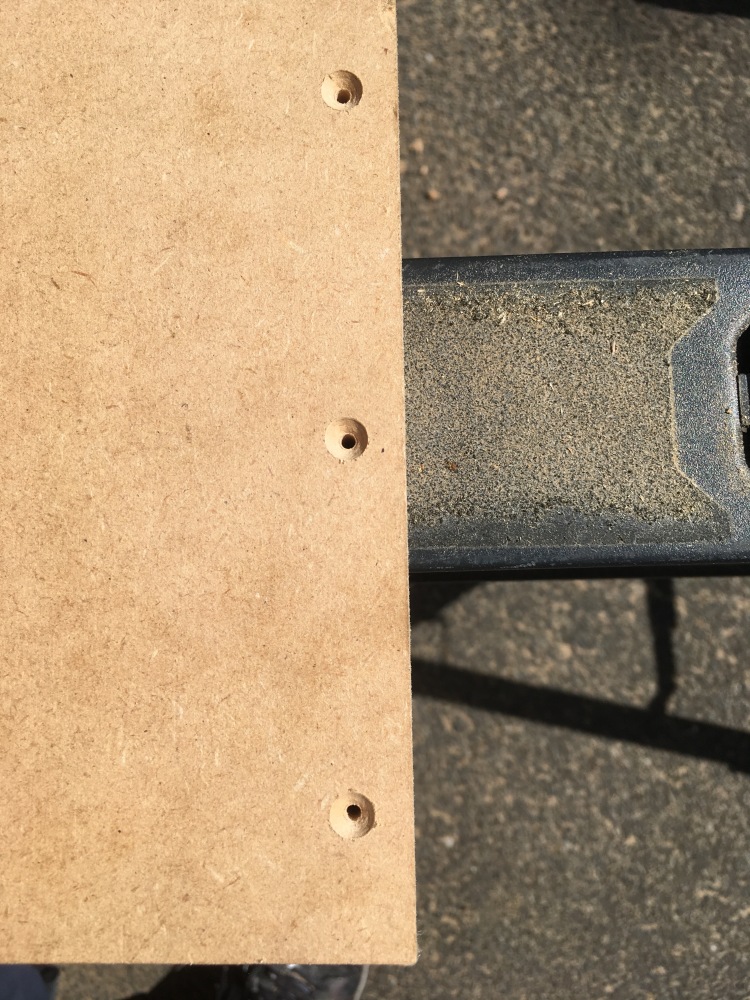

As well as (gingerly) using 30mm screws I used a thin bead of wood glue along the joining edges.
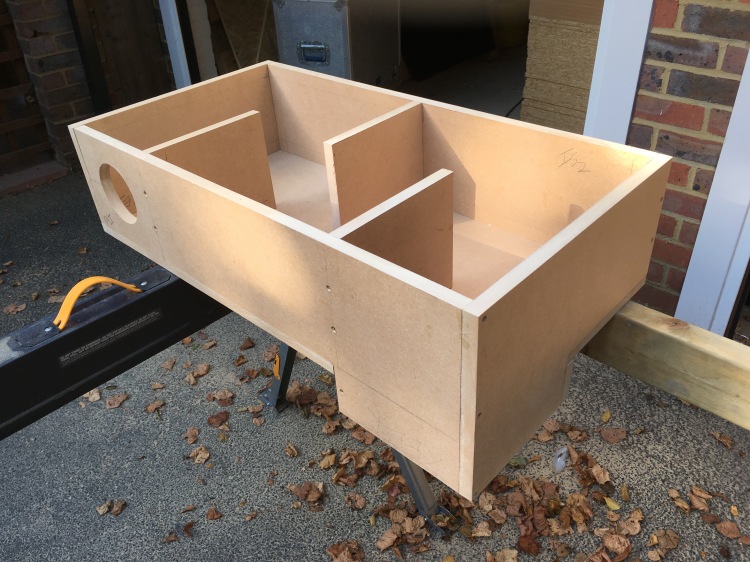
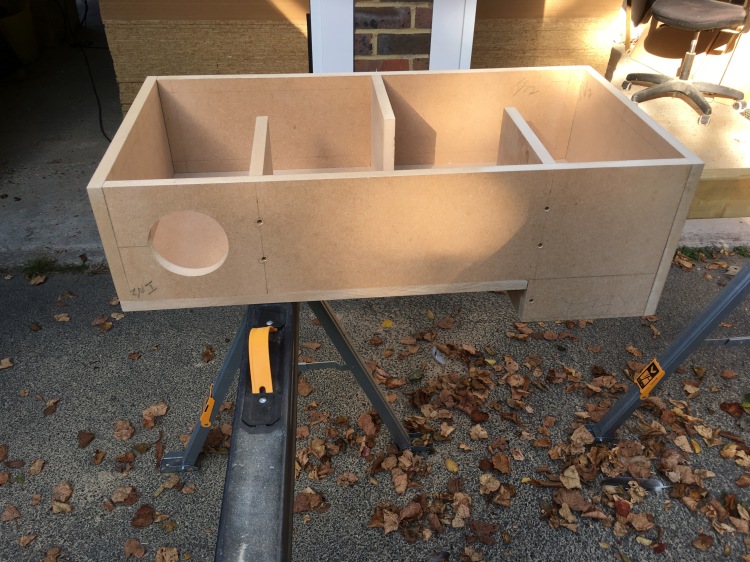
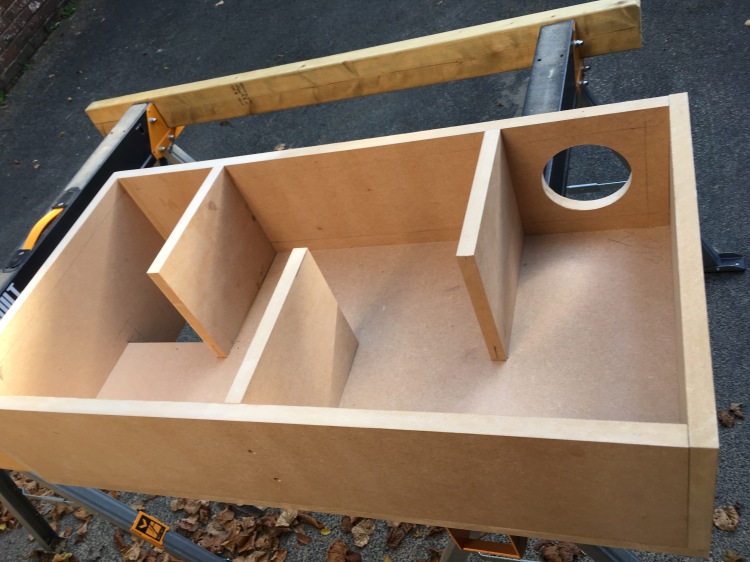

Then I added a bead of caulk along the inner and outer seams.
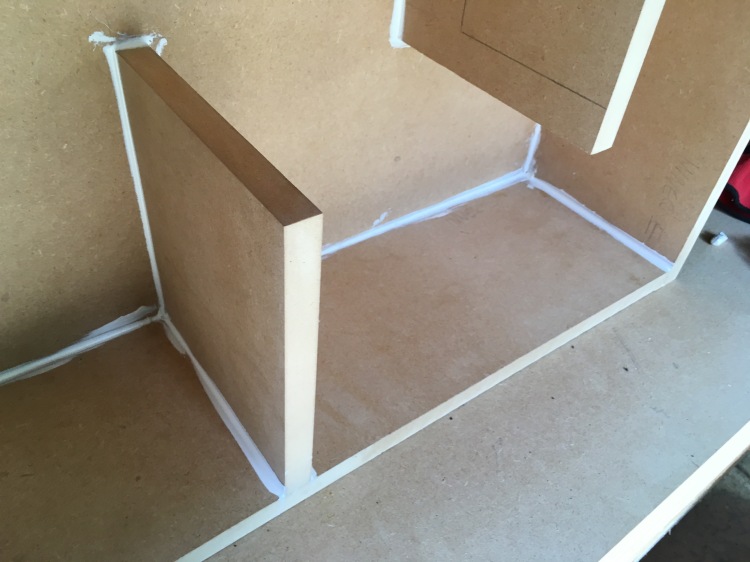

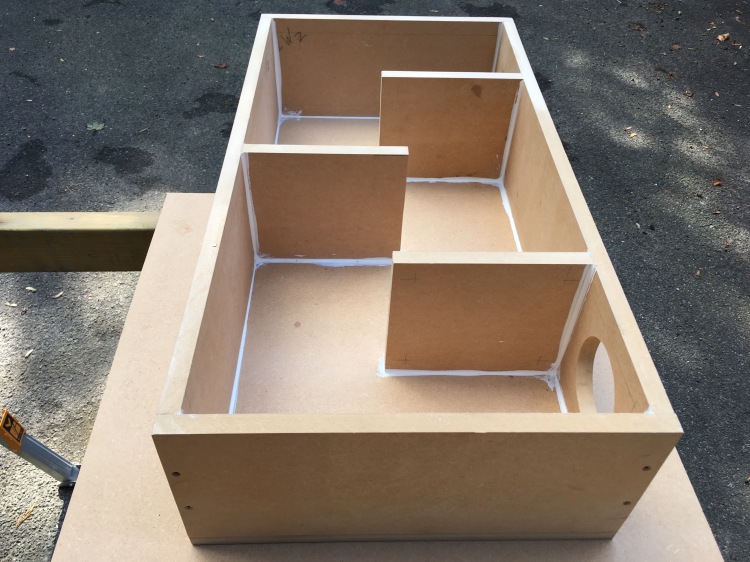
By this stage, they were beginning to get fairly heavy (even without the extra layer of boards which would eventually more than double the weight) so I decided to take the opportunity of adding the foam lining while they were still relatively easy to move around. I used a class ‘O’ acoustic foam, supplied in 25mm thick sheets with an adhesive backing. It’s important to use this type of product as it’s mould resistant, fire resistant as well as being acoustically rated (even though it’s eye-wateringly expensive) and given that, once the boxes are sealed up, air tight, there will be no chance of modifying them, it doesn’t make any sense to use inferior materials.


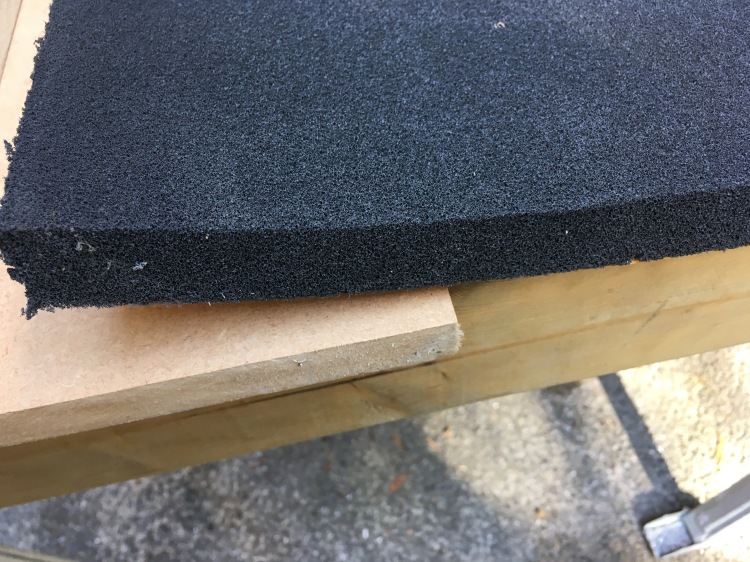
I found through trial and error that the best way of cutting this type of foam was to use an old (but still fairly sharp) bread knife. Using as much of the blade as possible and cutting slowly produced fairly clean cuts.
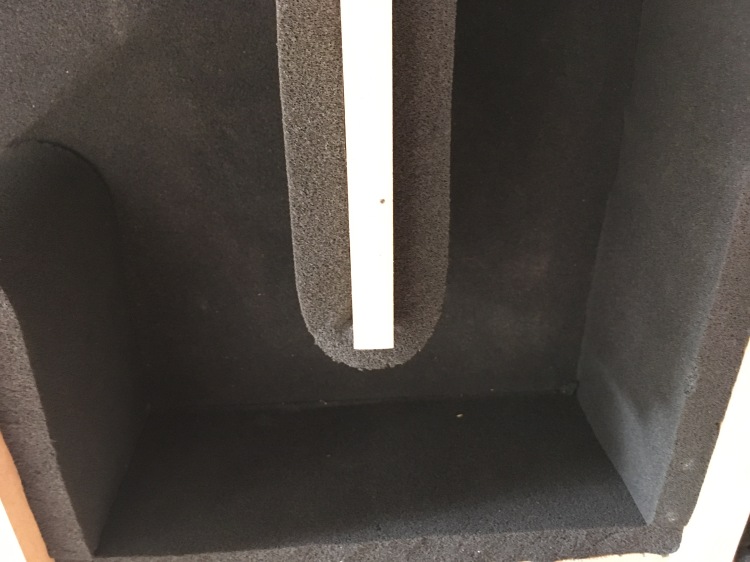
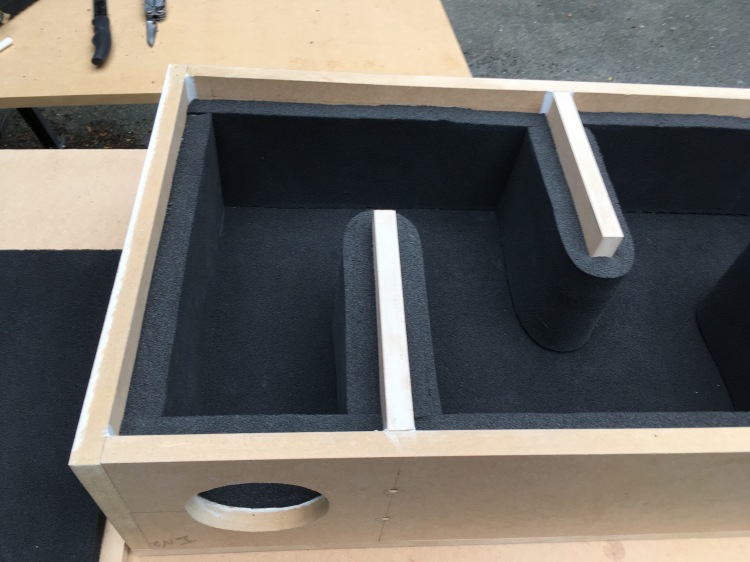


I discovered that the adhesive backing wasn’t quite as sticky as I’d hoped and overnight, where it had been shaped around the baffles, the foam had begun to separate.

The solution I found was to buy some 52mm plastic washers to hold the foam in place where it was being deflected. They’re actually surveyor’s markers but are perfect for this application as they have beveled edges and while they will add a small amount of drag to the airflow it will help avoid the foam completely springing loose when the glue completely dries out.


When the silencers were completed they weighed 64 kilograms each, so the next challenge was to raise them up to the middle leaf decking ( a three metre lift). For this I used an inexpensive (£10) cable pulley set along with three locking carabiners, two load straps and an old security chain. All of these components have a load capacity of at least 200 kilograms.
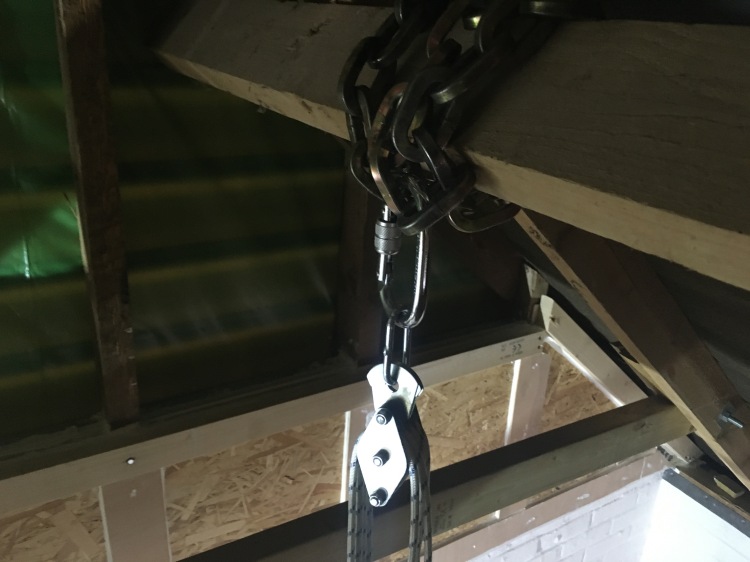
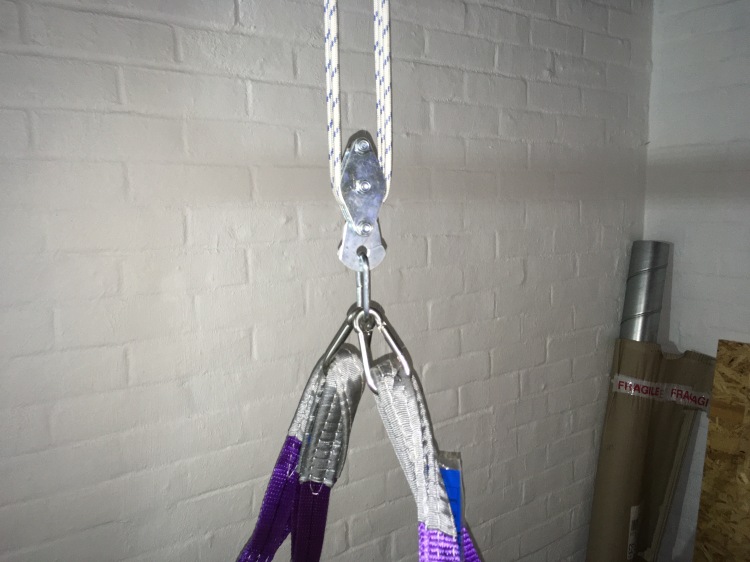


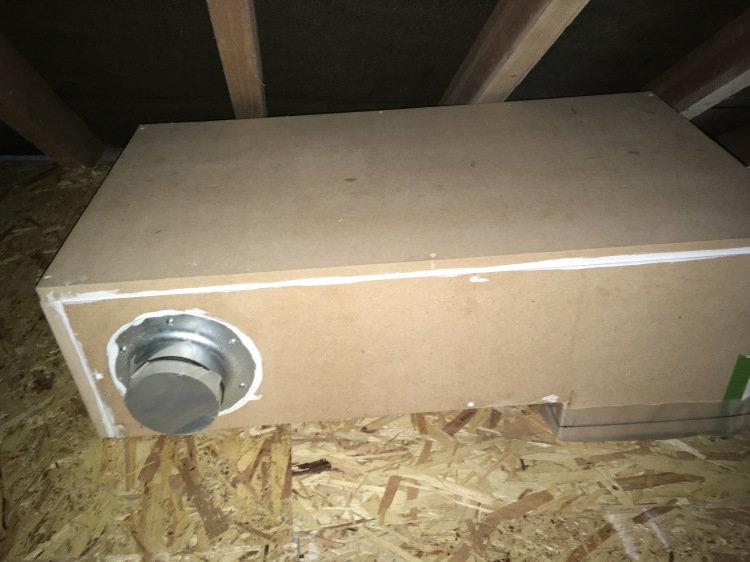
The nylon rope supplied with the pulley set looked very flimsy and as if it would untwist very rapidly under the load so I replaced it with marine grade, double braided rope. The lift was pretty straightforward and the finished boxes are on the decking and sealed to keep out insects, dust and other unwelcome guests (apologies for the poor picture quality – it was the end of a long day). The next part of the build is making the frame for the silencers – more to follow and thanks for reading.

© John Steel 2020
Hi John, any new updates? Btw, hoe much is your air gap? Did I read 20cm, is that correct?
LikeLike
Hello & welcome,
I have made quite a bit of progress since I last posted which I aim to post about it in the next couple of weeks. Yes, the air gap will be 20 cms, calculated to give both the isolation and fundamental frequency I need with the density of materials I’m using. Best wishes, John.
LikeLike
Hi John, thank you for your reply and good luck with the next chapters! Can’t wait to see your updates, I’m following 🙂
Greetings from The Netherlands
Nils
LikeLike
Hi John
Great pics…very helpful for my design work
Just wondering if you ran a layer of green glue between the two mdf leaves of the silencers to bump up the effective mass – I don’t know the density of the cement board but on the face of it, I thought that the cement board plus green glue plus OSB would outrank 2 x 18mm mdf for mass/m2
Andrew
LikeLike
Hello & howdo’ Andrew?
Glad to hear that your design is progressing. Green glue is used primarily as a damping medium between sheet materials rather than to add mass. It improves isolation by reducing the transmission of energy between the layers. You’re absolutely right, the density of cement board (1200 Kg/m3) is nearly double that of MDF (680 Kg/m3), but cement board has the disadvantage of being horrible to work with. It’s very brittle – you need special circular blades to cut it and when it is cut, it gives off clouds of dust and fine grit. It’s far too easy to overwork and break, so I opted to use 2 X layers of MDF instead. Yes, there is less mass in the silencers the way I built them, but there is (just) enough to give me the transmission loss I need. I hope this answers your question Andrew – I’m looking forward to hearing more about your studio. Best wishes, John.
LikeLike